Step-by-step guide to music video creation for rock and metal
- Travis B
- Apr 24
- 9 min read

Getting a music video right can push your band’s image forward in ways that no live show or social post can match. But a rushed shoot, no clear plan, and gear you don’t know how to use will burn through your time and budget fast. We’ve seen it happen. We’ve lived it. This guide walks you through everything from budget planning to post-production finishing touches, with practical steps built specifically for hard rock and heavy metal creators who want real results without a Hollywood price tag. Whether you’re filming your first video or rebuilding after a rough attempt, this is the framework we wish someone had handed us back in the day.
Table of Contents
Key Takeaways
Point | Details |
Plan before you shoot | Investing time in storyboarding, locations, and logistics prevents costly mistakes during filming. |
Lighting over gear | Prioritizing good lighting and strong locations creates a pro look without a high equipment spend. |
Edit with your genre in mind | Fast cuts, appropriate effects, and clear branding make your video resonate with rock and metal fans. |
Double-check before uploading | Fixing common publishing errors in advance ensures your video launches without a hitch. |
What you need to get started
Before you point a camera at anyone, you need to know what you’re working with. That means an honest look at your budget, your gear, and the physical locations you plan to use. Most indie creators skip this part and pay for it later.
Indie budgets range from $0 using just a smartphone all the way up to $5,000 for a small crew with modest production values. Knowing where you fall in that range helps you make smarter decisions from day one. For AI-driven budget tips tailored to rock and metal video work, there are resources that can help you stretch every dollar further.
Here’s a basic breakdown of what you’ll need depending on your approach:
Item | DIY (Low Cost) | Small Crew ($1K-$5K) |
Camera | Smartphone (4K) | DSLR or mirrorless |
Lighting | Natural light, reflectors | LED panels, softboxes |
Audio playback | Phone speaker | Bluetooth monitor or PA |
Editing software | DaVinci Resolve (free) | Adobe Premiere Pro |
Location | Public spaces, backyard | Rented venue or studio |
Crew | Solo or one friend | Director, DP, PA |
For gear, think in priorities. Lighting and locations will have more impact on your final video than any camera upgrade. A beautiful warehouse or gritty alley lit with a couple of LED panels will beat a boring rehearsal room shot with a $3,000 camera every time.
Here’s what to lock down before filming starts:
Shot list written out scene by scene
Location scouted and confirmed with any necessary permits
Playback system tested so the band can perform to the track on set
Contingency fund set aside for unexpected costs
Release forms signed for anyone appearing on camera
If you’re shooting on public property, check local ordinances. Some cities require permits even for small, non-commercial shoots. Private locations need written permission from the owner. Getting this paperwork done ahead of time saves you from scrambling mid-shoot.
Pro Tip: Always allocate at least 10-15% of your total budget as a contingency fund. Equipment breaks, weather turns, and locations fall through. That buffer is what keeps your project alive when things go sideways.
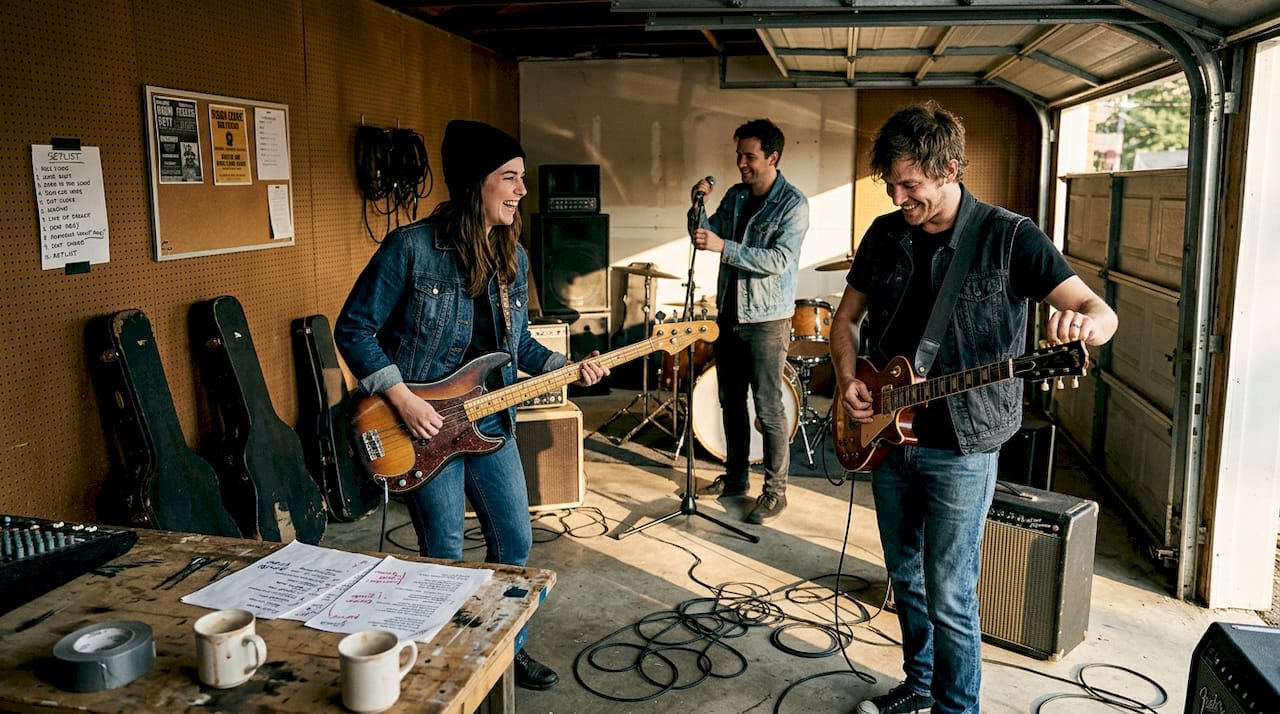
Step-by-step process for shooting your music video
Once you’ve planned your resources, it’s time to hit record. Here’s exactly how to approach each step on set.
1. Build your storyboard first. Sketch out each scene, even roughly. Know what the opening shot looks like, where the band performs, and how the visual story ends. You don’t need to be an artist. Stick figures and notes work fine.
2. Write a detailed shot list. Group shots by location to minimize travel time on shoot day. List every angle, closeup, and wide shot you need. This is your production bible.
3. Schedule your shoot day. Give each location a realistic time block. Include setup, filming, and breakdown time. Rushing is how you miss the shots that matter.
4. Set up your lighting before the band arrives. Natural light works beautifully for raw, authentic rock energy. If you’re indoors, a couple of LED panels positioned to create contrast and shadow will give you that heavy, dramatic look the genre demands.
5. Test your playback system. The band needs to hear the track clearly to sync their performance. A delay in playback kills the energy and creates sync nightmares in editing.
6. Shoot multiple takes. Record at least three full performance takes per setup. One for safety, one for energy, one for those unexpected magic moments. As one production guide puts it, DIY iPhone 4K plus natural light can compete with setups costing ten times more when execution is dialed in.
7. Capture cutaway footage. Hands on strings, pedals being stomped, sweat on a snare. These close details give you editing options and add texture to your final cut.
8. Keep energy high on set. The camera picks up hesitation and boredom. Play the track loud between takes, keep the vibe intense, and remind everyone why this song matters.
For innovative music video ideas that go beyond standard performance footage, there’s a lot you can do even on a tight budget with the right creative thinking.
“The best metal videos aren’t always the most expensive ones. They’re the ones where you feel the band actually means it.”
Pro Tip: If budget is tight, shoot outside during the golden hour (one hour after sunrise or before sunset). The light is warm, dramatic, and completely free.
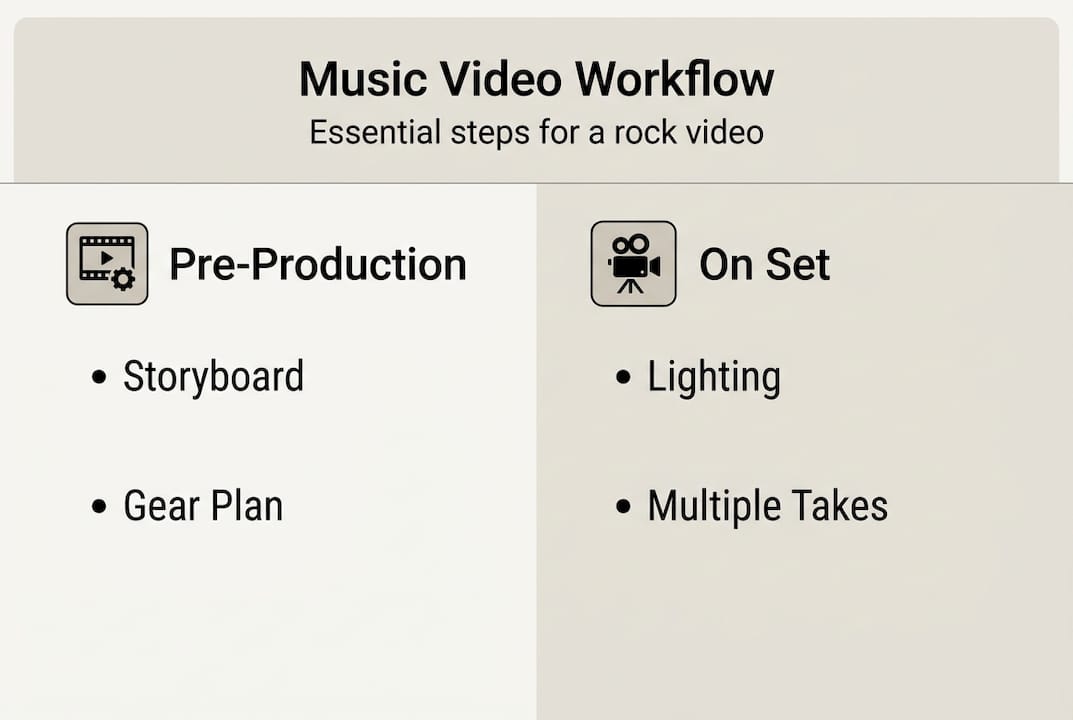
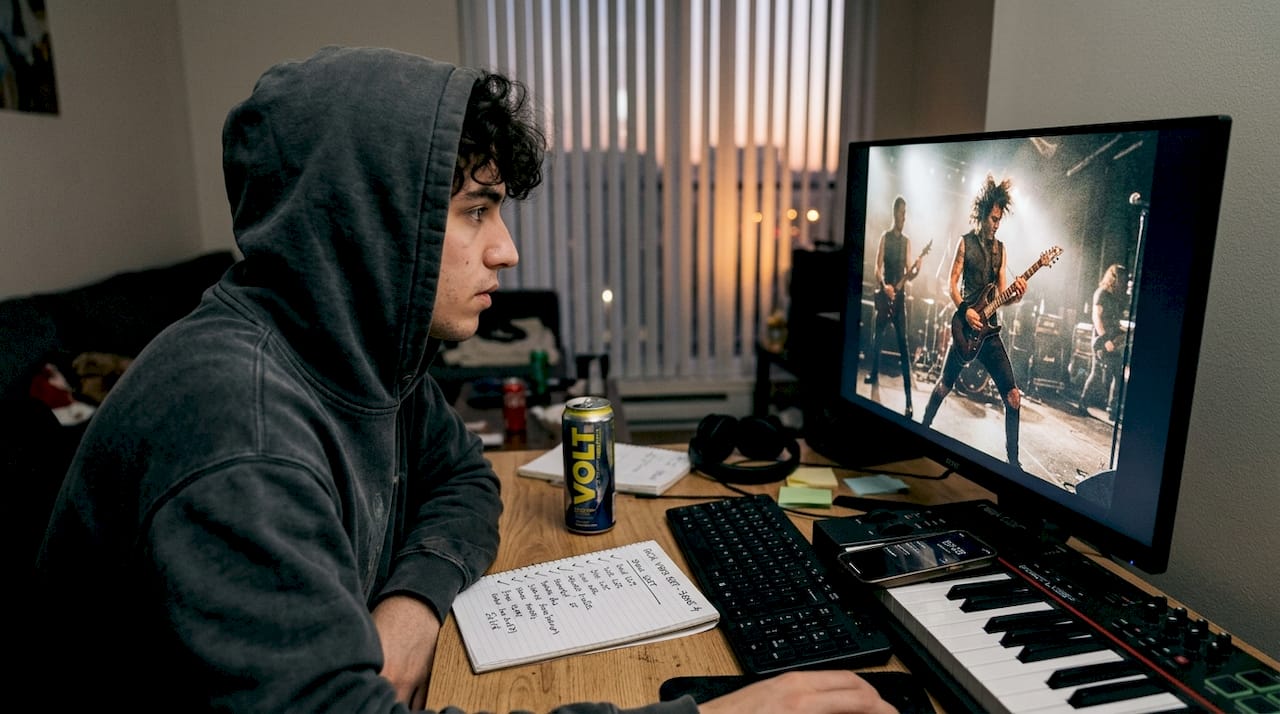
Editing and post-production: bringing your video to life
With your footage captured, editing will turn rough takes into a polished, powerful music video. This is where the real storytelling happens.
Start by importing all footage into your editing software and organizing it by scene or camera angle. Label everything clearly. Searching through unnamed clips at 2 AM before a deadline is a nightmare you can avoid with ten minutes of organization upfront.
Sync your footage to the audio track first. Use a visual cue like a clap or a specific drumbeat at the start of each take to make sync fast and accurate. Most editing programs let you sync by waveform automatically.
For hard rock and metal, your editing rhythm should mirror the music. Quick cuts on heavy downbeats, held shots during melodic sections, fast crosscuts during guitar solos. The edit should feel like an extension of the song, not just pictures set to music.
Here’s a comparison of editing tools based on cost and capability:
Tool | Cost | Best for | Learning curve |
DaVinci Resolve | Free | Color grading, full edit | Moderate |
iMovie | Free (Mac) | Simple cuts, basic effects | Low |
Adobe Premiere Pro | ~$55/month | Professional full workflow | Moderate |
CapCut | Free | Quick social media cuts | Low |
Final Cut Pro | $300 one-time | Mac users, fast workflow | Moderate |
Color grading matters more than most indie creators realize. A blue-green grade adds coldness and tension. Deep reds and high contrast push aggression. Lighting, location, and preparation already set you up for a strong grade because good source footage always responds better in post. Pair your color work with strong audio by reviewing improving track clarity before you finalize your mix.
For AI in post-production, there are new tools that can help you stabilize shaky footage, upscale resolution, and even generate visual effects without a VFX budget.
Before you export, run through this finishing checklist:
Audio sync confirmed across the full runtime
Color grade applied consistently across all scenes
Band logo or title card added at open or close
Copyright notice in the video description
Export settings matched to platform requirements (YouTube recommends 1080p or 4K, H.264)
Thumbnail designed with high contrast and readable text
Publishing and troubleshooting your music video release
Now that your video is edited, the final hurdle is making sure the world sees it and handling any last-minute snags.
Uploading is only step one. How you tag and title your video determines whether it gets discovered. Use your band name, genre keywords (hard rock, heavy metal, indie metal), and the song title in your YouTube title, description, and tags. Fill out every metadata field. Platforms reward complete uploads.
Here are the most common release errors and how to fix them:
Copyright flag on your own track: Register your music with a distributor (DistroKid, TuneCore) before release so your claim overrides automated flags
Wrong export format: YouTube prefers MP4 with H.264 video and AAC audio. Export in this format to avoid quality loss
Weak thumbnail: Use a high-contrast still from your video with your band name visible. Blurry or dark thumbnails kill click-through rates
No closed captions: Adding auto-generated or manual captions improves accessibility and search ranking
Missing description: Write at least 150 words in your video description with relevant keywords and links to your social channels
Contingency budgeting and strong planning carry you all the way through to release. The same discipline that kept your shoot on track will keep your launch clean.
For free promotion, go where your fans already are. Post clips to Instagram Reels, TikTok, and Facebook within 48 hours of your YouTube release. Tag collaborators, locations, and gear brands. Use genre-specific hashtags like #heavymetal, #hardrock, and #indieband.
For avoiding release mistakes specific to rock and metal videos, and for deeper reading across topics, check out the additional music video guides we’ve put together.
Pro Tip: Schedule your video to go live on a Tuesday or Wednesday between 2 PM and 4 PM in your target audience’s time zone. Engagement is higher mid-week when the weekend rush hasn’t started and people are browsing during lunch or after work.
If a platform flags or blocks your video, don’t panic. Submit a dispute through the platform’s appeal process and provide your copyright registration or distribution receipt as evidence. Most legitimate disputes resolve within two weeks.
What most DIY creators get wrong about music video production
Here’s the honest truth from our own experience. The thing that kills most indie music videos isn’t a low budget. It’s showing up to a shoot without a clear vision of what you’re trying to say.
We’ve done shoots where we had all the gear we needed and still walked away with unusable footage because we hadn’t decided what the video was actually about. Energy, storytelling, and genuine passion come through on camera in ways that no color grade can fix in post. The bands whose low-budget videos go viral aren’t lucky. They knew what they wanted before anyone hit record.
Most DIY creators also underestimate how much the edit shapes the final feeling. The footage is raw material. The edit is the song. A lot of indie creators spend 90% of their time on the shoot and rush the edit in a night. That ratio should be closer to 50/50.
The other thing people overlook is how AI reshapes creativity for indie artists right now. AI tools for video stabilization, color matching, and even generative visuals have gotten genuinely accessible. They’re not a shortcut around good planning, but layered on top of solid execution, they can take a $500 video and make it look like something far beyond that.
Start with vision. Build from there. Everything else is just tools.
Ready to share your music video with the world?
We built Winter Agony on the belief that passion and creativity matter more than budget. That belief is exactly why we want to connect with indie musicians and filmmakers who are doing this the hard way, the honest way, the real way.
Head over to the Winter Agony community and connect with a group of rock and metal creators who get it. If you want to keep building your skills, the more music video guides on our blog cover everything from AI-assisted production to release strategy. We’re all in this together, and the best videos from the underground deserve to be seen. Come find your people.
Frequently asked questions
What is the average budget for an indie music video?
Indie video budgets range from $0 using just a smartphone to around $5,000 for a small crew with modest production values. Where you land depends on your vision and what you can borrow or barter.
What equipment do I need to film a hard rock music video on a budget?
A recent smartphone with 4K capability plus natural light and free editing software like DaVinci Resolve is genuinely enough to produce a high-impact video. Creativity and planning matter far more than gear.
How can I promote my music video for free?
Share across Instagram Reels, TikTok, and YouTube Shorts right after release, coordinate with fans and collaborators to amplify the launch, and use genre hashtags like #heavymetal and #hardrock for organic reach.
What are common mistakes in DIY music video production?
The biggest mistakes are skipping the planning phase, ignoring lighting and preparation, and rushing the editing stage. A clear creative vision before filming starts will save you more time than any gear upgrade.
Is it better to focus budget on gear or locations and lighting?
Always prioritize lighting and locations over expensive gear. A compelling location with strong lighting will outperform a boring space shot with a high-end camera every single time.
Recommended
Comments